
How to Anonymize DICOM Files for Research and Teaching
DICOM files are the standard for clinical imaging, but their richness of data presents a challenge for research and education. They are filled with Protected Health Information (PHI) that must be removed before images can be shared outside of a clinical environment. Proper anonymization is not just a good practice; it is a legal and ethical requirement under regulations like HIPAA. This guide outlines the essential steps for making a DICOM file safe to share.
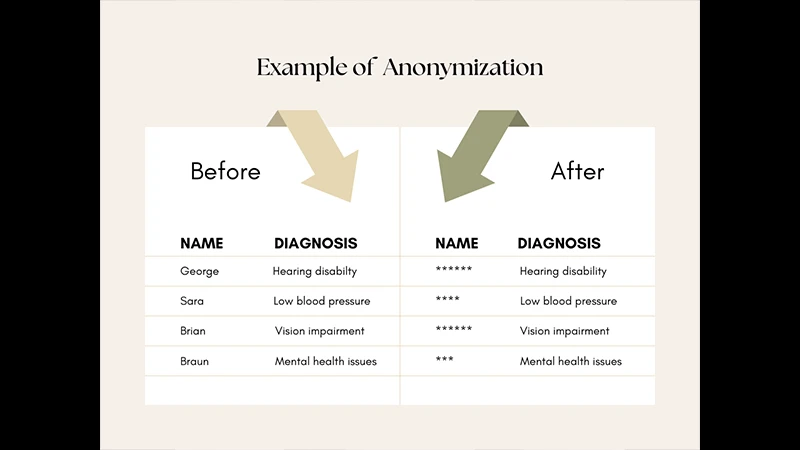
What Needs to Be Removed? The Two Data Locations
PHI can exist in two places in a DICOM file:
- DICOM Tags: The metadata header contains dozens of tags that can identify a patient, including name, ID number, date of birth, and even the names of physicians and institutions.
- Pixel Data: Sometimes, identifying information is "burned-in" directly onto the image pixels by the scanner. This can include the patient's name, the date of the scan, and the hospital's name.
A true anonymization process must address both of these areas. Simply deleting a few tags is not enough.
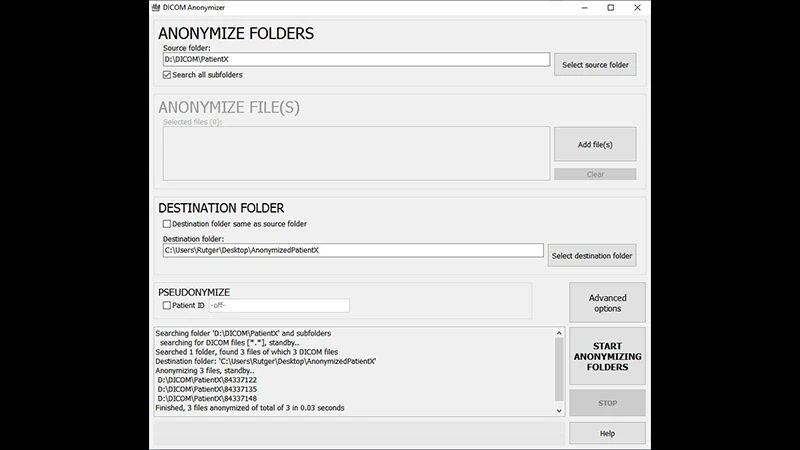
Step 1: Use a Reliable Anonymization Tool
Manually editing hundreds of DICOM tags is impractical and prone to error. It is essential to use dedicated software designed for this purpose. Many free and commercial tools are available.
- Free Viewers: Many free DICOM viewers like RadiAnt or Horos/OsiriX have built-in anonymization or export functions that can strip metadata.
- Command-Line Tools: For researchers working with large datasets, tools like the Dicom Anonymizer from the DICOM Toolkit (DCMTK) provide powerful, scriptable options for batch processing.
When using a tool, it's important to understand its anonymization profile—the set of rules it uses to decide which tags to remove, empty, or replace with pseudonyms.
Step 2: Clean the DICOM Tags
A good anonymization tool will automatically handle the most common identifying tags. The goal is to remove or blank out all data that could reasonably be used to identify an individual. This includes:
- Patient Tags: (0010,0010) Patient Name, (0010,0020) Patient ID, (0010,0030) Patient Birth Date, etc.
- Institution Tags: (0008,0080) Institution Name, (0008,0081) Institution Address.
- Physician Tags: (0008,0090) Referring Physician's Name.
- Date Tags: Dates like Study Date (0008,0020) are often "shifted" by a random number of days rather than removed, to preserve the time interval between scans without revealing the actual date.
- Unique Identifiers (UIDs): Tags like Study Instance UID must be replaced with new, randomly generated UIDs to break any link to the original clinical study.
Step 3: De-identify the Pixel Data
This is a manual but crucial step that software often cannot do automatically. You must visually inspect the images to ensure no PHI is burned into the pixels. If you find any text overlays, you must use an image editor or the anonymization tool to black them out completely.
Conclusion: A Non-Negotiable Responsibility
Proper anonymization is a non-negotiable step in the ethical conduct of medical imaging research and education. By using reliable tools to clean the DICOM tags and carefully inspecting the pixel data to remove any burned-in text, you can confidently share valuable clinical images while upholding the highest standards of patient privacy. Always remember to work on a copy of the original data, never the clinical original itself.
Comments